Mobile application
For Android and iOS an app is available. Search the Play Store/App Store for Onventis Workflows. You can find setup instructions in the user manual that can be found in the green Help ENG button on the home screen of the website.
It’s also possible to open the regular Onventis Workflows website on your mobile device.
Installation
Look in the App Store or Play Store for “Onventis” or use the link below.
Android:
https://play.google.com/store/apps/details?id=com.clouds2020.ttvtaskmanager
iOS:
https://itunes.apple.com/us/app/20-20-task-manager/id971247726?ls=1&mt=8
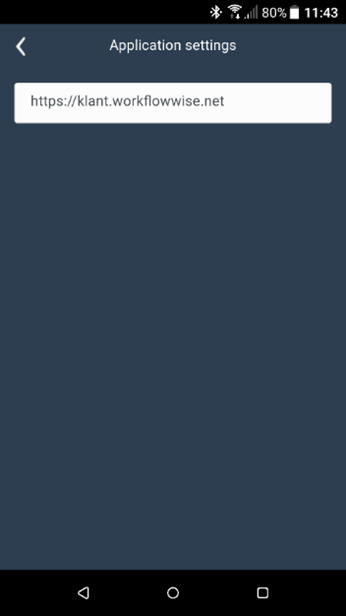
Next click on the settings icon at the right top of the screen.
Fill in the link to your environment and return. (Please remove the web- from the link: example https://yourtenant.workflowwise.net)
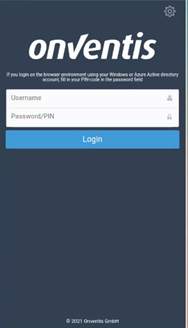
Log in with your usual username and password.
If your organisation uses Azure Directory integration to log in to Onventis, then fill in your network account (domain\username) in the user name field and your PIN for Onventis in the second field.
Usage
Main screen
The main screen will appear once you are logged in.
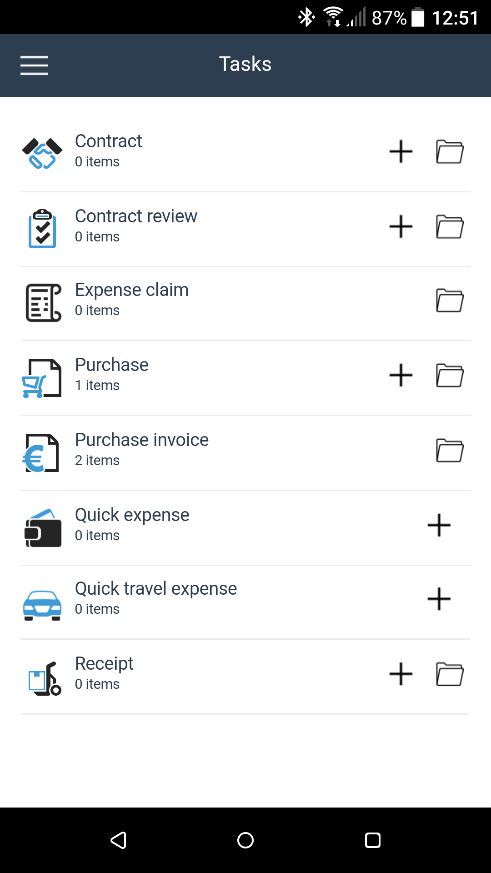
Here you will see the following:
All processes that are used in your organisation
The number of items you have in your own worklist for those processes
A button to create a new item
A button to go to the archive of the process concerned
Settings
In the main screen you can use the following button to adjust some settings.
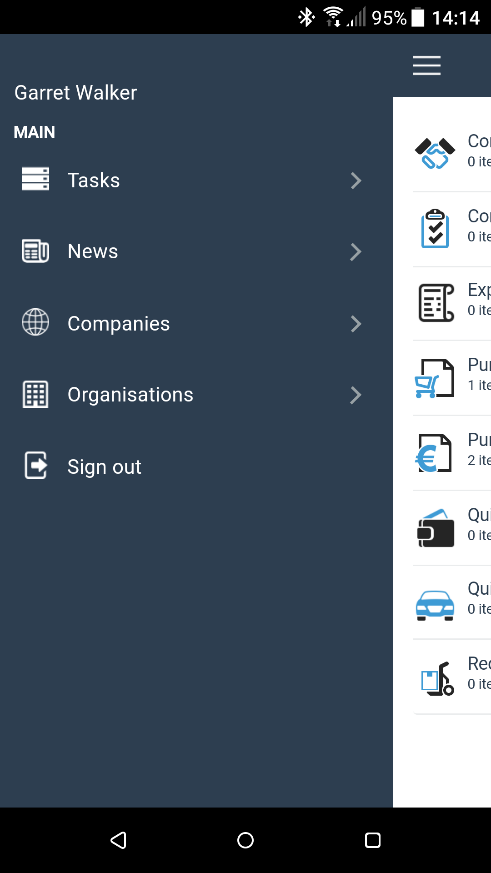
Go to task list
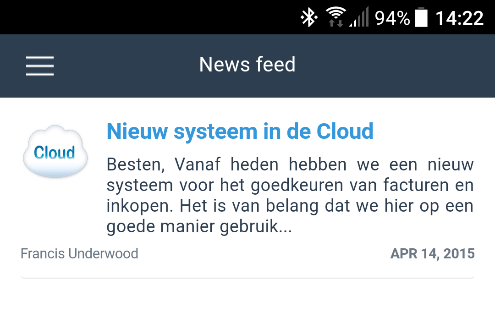
Go to the news items that were placed within your Onventis environment
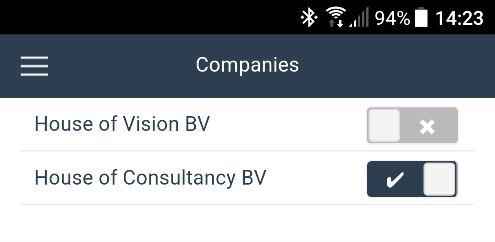
Select which companies you want to see. This filter will apply to all worklists and archives in the mobile application
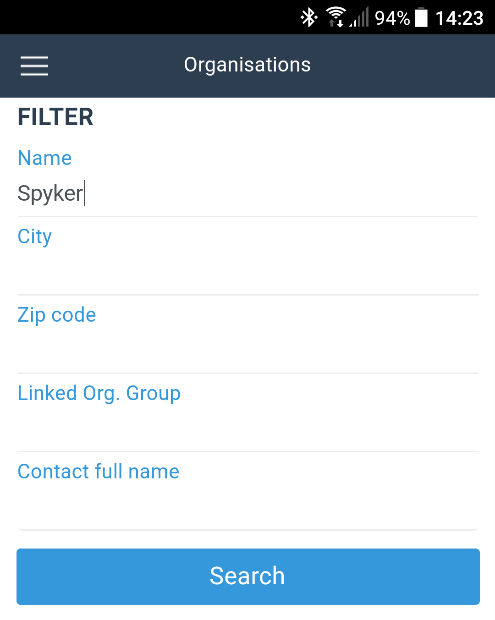
Find an organization
Log out (normally you do not use this option, so the application will automatically log in at start up)
Initiate
It is possible for several type of transactions to create a new one. In that case, a button will be shown in the main screen. When you click on this, the input screen will pop up. As an example, you see the screen for a new expense claim.
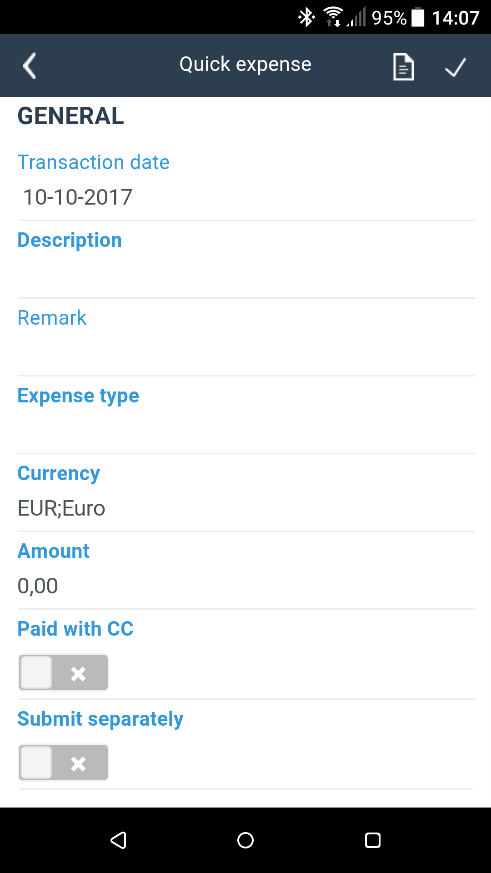
There are four types of input fields:
Fields where you enter text or a number.
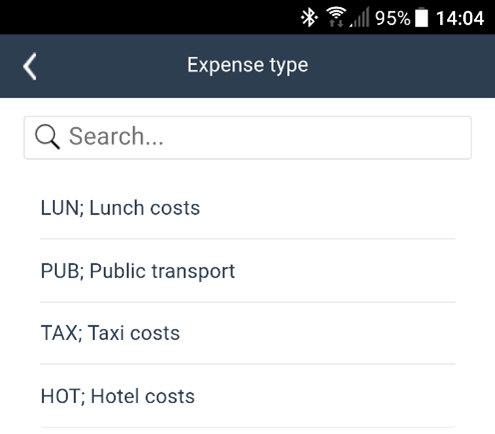
Fields prompting a search screen, where you can choose from a list of items.
Fields where you enter a date which you select in a calendar.
Yes/No fields with a slider.
Once you have completed your input, you can choose from two options using the buttons at the top right of the screen:
Adding an attachment. This can be a photograph of for instance a receipt or a print screen of a website.
Sending on the transaction. It will then be send to the next role player.
After you have completed the input and passed on the transaction, you can retrieve it in the archive.
Archive transactions
The archive of the transactions looks fairly the same as that of the worklist. There are however small differences.
When a specific transaction is opened, you will see not buttons for approving or rejecting. You can of course see the attachments and the remarks.
Worklist process
Clicking on the name of a process or on the icon takes you to your worklist for that process.
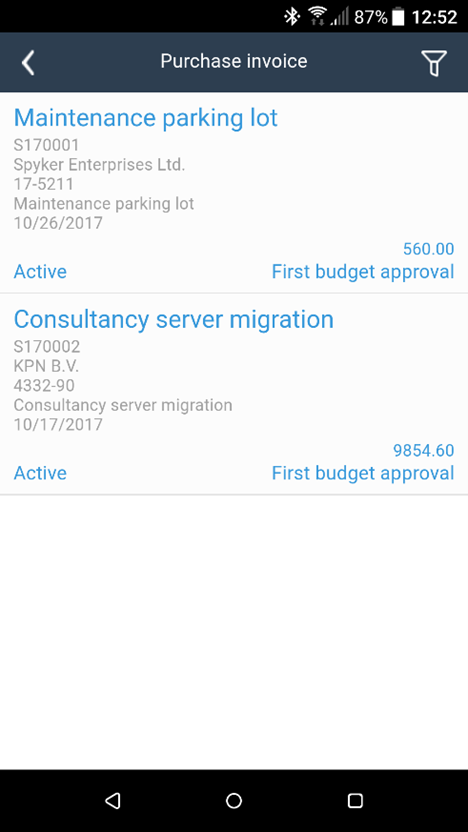
Here the most important fields for the lines are shown.
Using the button with the funnel at the top right allows you to find a specific transaction by filtering for example by supplier.
Clicking on a line, takes you to the details.
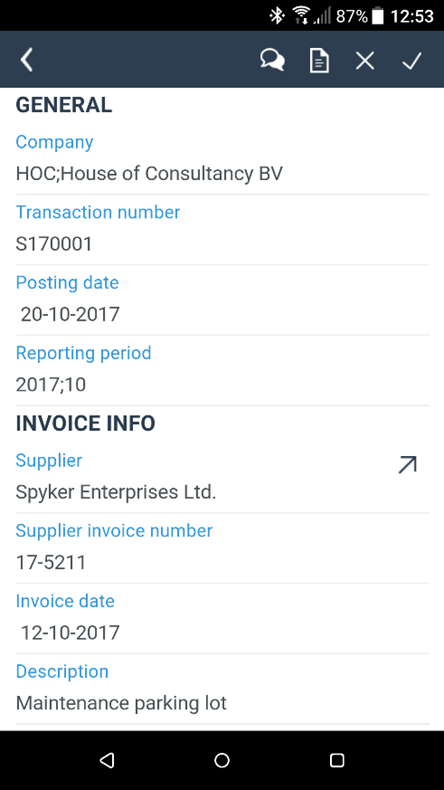
You can perform several activities in this screen:
Approving the transaction. It will be send to the next processor (if there is one). The worklist will then be refreshed.
Rejecting the transaction. A screen will pop up in which you need to state the reason for rejection. The worklist will then be refreshed.
Viewing the attachment. In a new screen you will see the attachment on which you can zoom in. Notice that not all transactions have to have an attachment; in which case this button will not be shown.
Viewing the comments made related to the transaction. If previous role players have remarked something, you can have a look at that here.
Clicking on the arrow behind the supplier’s name, takes you to the supplier’s details.
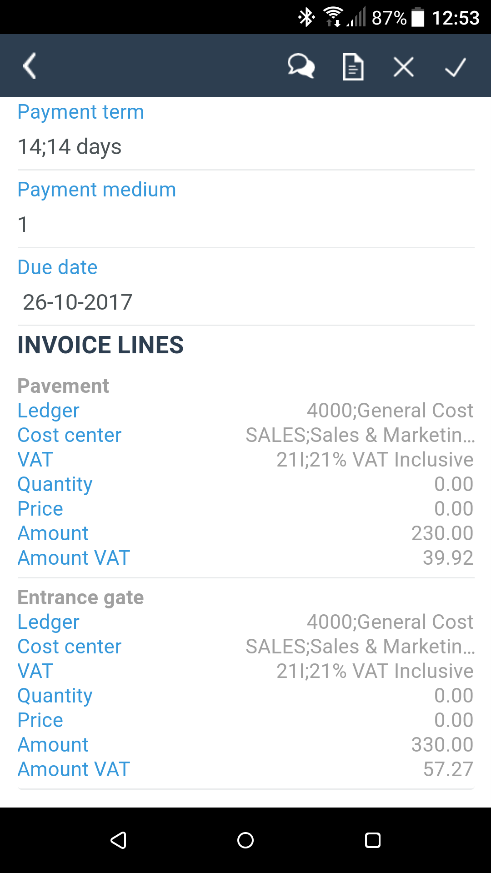
Depending on the type of transaction, lines may be shown at the bottom of the screen (for instance invoice lines or order lines). You can click on them to see the details.