
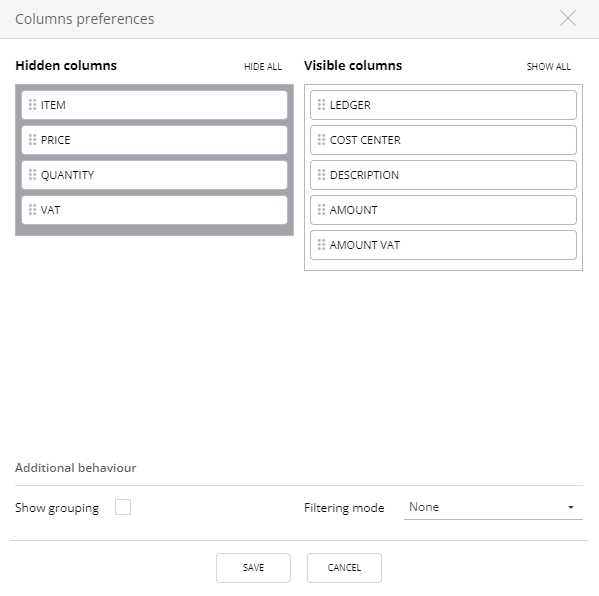
Column preferences
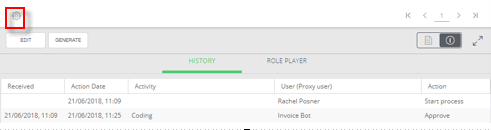
When you click the settings icon above the Edit button, you can view and alter your user preferences:

Simply dragging the columns from left to right will make them visible in your transaction worklist. The same applies the other way around. The buttons Hide all and Show all will make the columns invisible and visible via one click. You can also determine the order of views by dragging the columns up or down. These settings will be saved per user for each future session of the user concerned.
At the top of the worklist is a Filter icon which allows you to search for transactions within the worklist:
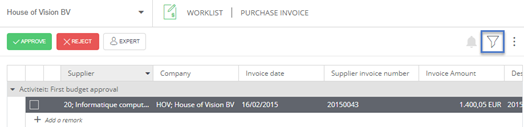
Clicking on it will take you to the following search screen:
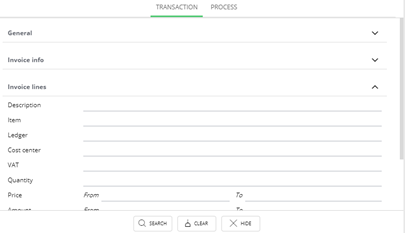
Here you can search both by header- and line details based on different criteria. Multiple tabs can be unfolded to see more details you can search by. You can switch between two tabs to search by certain criteria. Above you can see the tab Transaction. On the right of it you can click on Process to initiate a search by more/other criteria. The button Hide takes you back to the screen where the entire worklist including the selected transaction is visible.
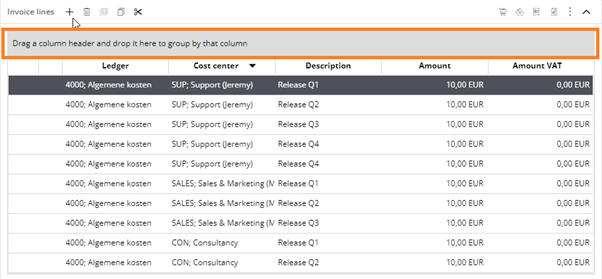
Grouping your work list by a certain column works slightly different:
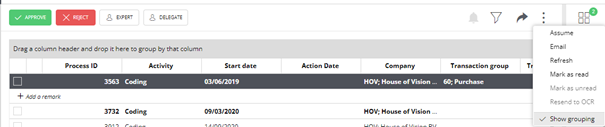
To the right of the Filter button you will see a button with a three dot colon. This will show all other options regarding the functionalities in the worklist. If “Show grouping” is checked, you will see a light grey bar above the columns, as shown above, to which you can drag columns to group them. Remove the grouping can be activated by clicking the X within the column you dragged up.
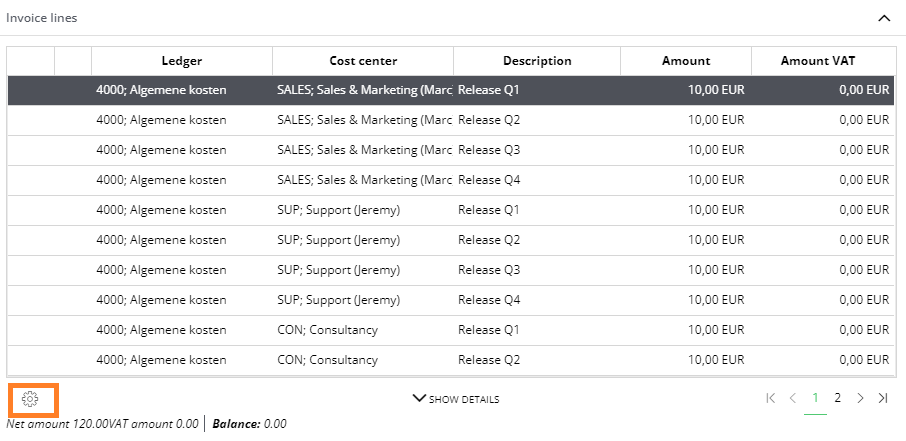
Additional options in Column preferences on line level
Two additional options are added in the column preferences screen on line level. This maintenance screen can be reached by using the gear icon on line level (e.g. via invoice lines).
The options which are added are:
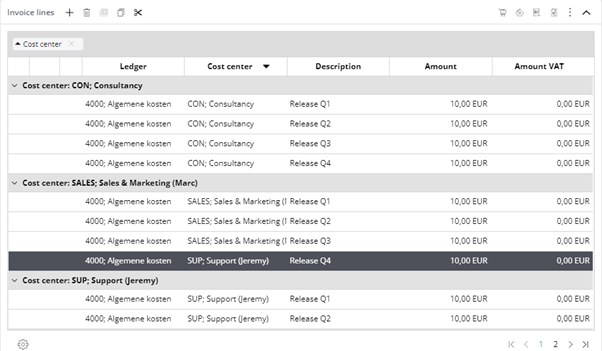
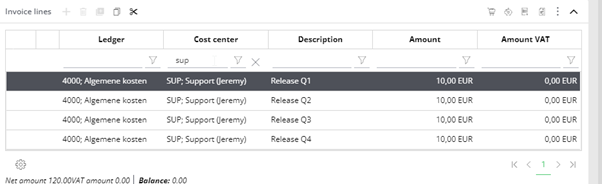
Show grouping: This enables the user to add a ‘group by’ on line level
An example using cost centers in the ‘group by’:
Filtering mode: The method of filtering within the lines themselves.
Three options are possible:
None
No filtering is done on line level.
Menu
On header level of the columns, a filter option is added which enables you to filter within the lines.

Per columns, it is possible to use 2 filter options using the ‘and/or’ option.
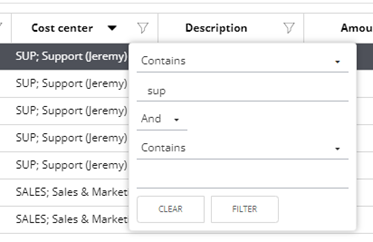
The column filter used is indicated with a green color, so it is clear at a glance which filters are in use.
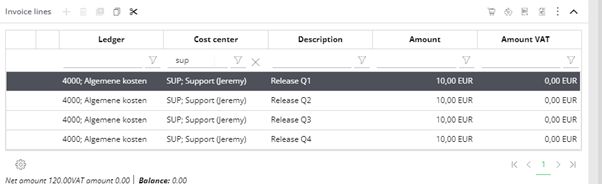
Row
A line-level filter option is added for quick filtering
The chosen grouping and filtering mode are stored for each user. This additional behaviour is available for line level filtering in workflow and archive of transactions.
By means of the button “Refresh”, you simply renew the worklist to show possible changed data. By means of the button “Email”, which can also be found via the three dot colon button, you can send an email from the application to another user or any other desired email address:
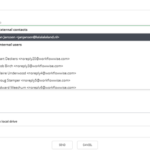
Navigating your mouse to the ‘To’ field automatically shows a list of all users and their linked email addresses to choose from. When you start typing in this field also the e-mail addresses of linked organisation contacts will be shown. It is also possible to send the e-mail to an address that is not known inside the application yet: just continue typing. The list with email addresses also contains email addresses of contact persons, linked to the supplier used in the linked transaction. They are displayed as ‘external contacts’.
Fields ‘CC’ and ‘ BCC’ are by default visible and can be hidden by clicking on the ‘CC & BCC’ link.
At the bottom you also have the option to upload a file from the hard disk to attach to the mail. Besides that, it is possible to attach and send one or more files that are linked to the selected transaction. You can select the attachments by clicking them. They will be flagged when selected.
A sent mail will always be saved as a remark with the selected transaction.
By means of the button ‘mark as read’ worklist items can be marked as read when currently unread.
By means of the button ‘mark as unread’ worklist items can be marked as unread when currently read.
Unread items are marked with bold characters.
If activated, a button ‘review role players assignment’ can be present. When available, this button will give you a preview of the role players that would be assigned to each step, which mandate is used, and which steps were done to find this role player. This is done based on the current selected master data on the transaction.
The other buttons above the worklist have the following function:
Button | Meaning |
Approve | Button is only available once the process is ready to be forwarded. If the process cannot be forwarded the reasons for this can usually be shown by hovering the mouse over this button:  Depending on the process step, a PIN code may be required for approval. |
Reject | Rejects the process. Depending on the settings of the workflow, you can choose to reroute the process one step back, send to the submitter or completely de-activate. It’s always required to enter a remark when rejecting! |
Expert | The process can be directed to a colleague with this button. It’s also called the “question button”. You need to enter a remark why you send it to a colleague. The colleague will need to enter a remark as well when approving/rejecting. After approval or rejection, the process will return in your own worklist. |
Delegate | Send the process to a colleague. This person can then approve or reject in your name. Then the process will go to the next step; it will not be returned to your worklist. So with this button you delegate the approval to a colleague. |
After clicking Edit, you will be in the editing mode. Depending on the process step the transaction is in, you can or cannot edit any fields.