
Entering a (quick) claim
Expense claims can be entered using the mobile app or by using the web browser. Expenses are entered by creating a “Quick expense claim” or by creating a “Quick travel expense”.
Quick expense claim
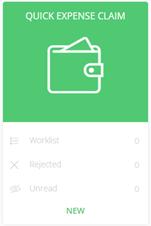
A quick expense claim is used to claim costs not related to travelling (e.g. lunch costs). In a web browser use the ‘new’ button in the dashboard tile “Quick expense claim” to start a new claim.
To link a document (which is required), use the ‘Upload’ button on the right side of the screen.
In the mobile app click on the ‘+’ shown behind Quick expense claim. In a pop-up you will see the following options:
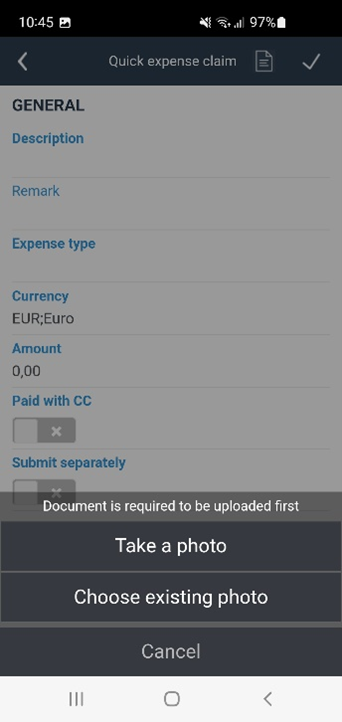
Take a photo -> will open the camera for you to take a photo (of e.g. the receipt).
Choose existing photo -> will open the photo gallery and enables you to select a photo from there. After creating or selecting a photo, the fields are available.

The fields are the same for the mobile app and the web browser
Fields Quick Expense Claim
Remark: Enter additional information. (optional)
Expense type: Select the type of expenses. (required)
Currency: Select the currency of the expenses. (required)
Amount: Enter the amount of the expenses. (required)
Paid with CC: Check the box when it is paid by a company creditcard.
Submit separately: Check the box when a separate expense claim should be created for processing. If not checked, it will be placed in the general expense claim for processing. (this is e.g. done if you pre-paid a large amount which you want to be paid back earlier than the regular claims.)
After entering the details, the quick expense claim can be confirmed with the ‘save’ and ‘approve’ button (in web browser) or the v button (in the mobile app).
A new regular expense claim is created (if this is the first quick expense claim this month, or the checkbox ‘submit separately’ is checked) or added to the existing expense claim when this is still in the ‘enter’ step.
Quick travel expense
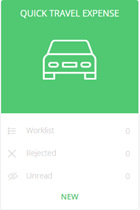
A quick travel expense is used to claim costs related to travelling (e.g. driven mileage to a customer) In a web browser use the ‘new’ button in the dashboard tile “Quick travel expenses” to start a new claim.
To link a document (which is optional in this process), use the ‘Upload’ button on the rights sight of the screen.
In the mobile app click on the ‘+’ shown behind Quick travel expenses. To upload a document, click on the document icon, left of the v button. This will open the pop-up with two options;
Take a photo -> will open the camera for you to take a photo.
Choose existing photo -> will open the photo gallery and enables you to select a photo from there. After creating or selecting a photo, the fields are available.
The fields are the same for the mobile app and the web browser
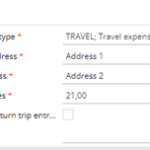
Fields Quick Travel Expense
Expense type: Select the type of expenses. (required)
From address: Enter the address from where you travelled. (required)
To address: Enter the address to where you travelled. (required)
Kilometers: Enter the quantity of kilometers from the ‘from’ address to the ‘to’ address. (required)
Create return trip entry: If not checked, only one travel line will be created based on the entered data. If checked, automatically a second travel line (the return trip) is created where the ‘from’ address is taken from the entered ‘to’ address and vice versa.
Remark: Enter additional information. (optional)
After entering the details, the quick travel expense can be confirmed with the ‘save’ and ‘approve’ button (in web browser) or the v button (mobile app).
A new regular expense claim is created (if this is the first quick travel expense this month, or the checkbox ‘submit separately’ is checked) or added to the existing expense claim when this is still in the ‘enter’ step.