The illustration below shows the start screen. This is the first screen you will see after each login. On the left you will see the Menu and in the middle the process tiles to initiate transactions and to open your worklist or the archive. When multiple administrations are used, you can select the correct administration to work in at the top left corner. At the top right-hand corner, you can open user settings, such as delegate account, open task list or log out.
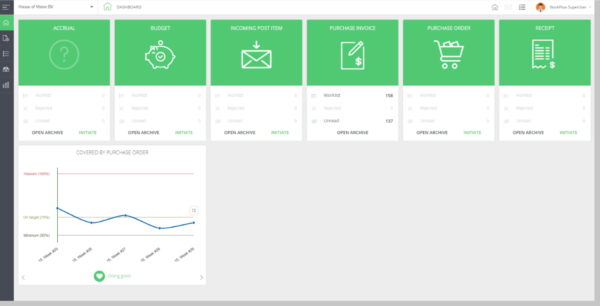
The worklist process tiles
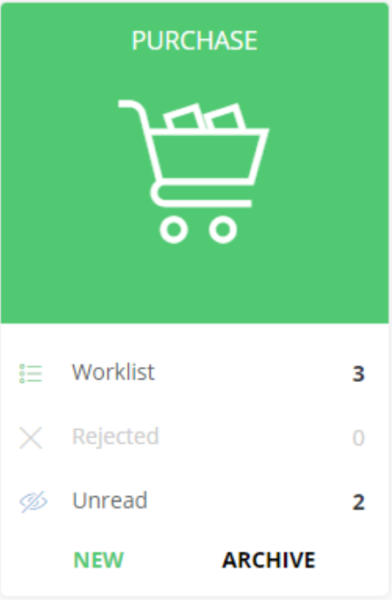
Worklist: the processes in your own worklist that are waiting for approval.
Rejected: the processes in your worklist which have been returned to you following rejection by another user.
Unread: the processes in your own worklist, which have not yet been read.
New: this allows you to create a new transaction.
Archive: this allows you to navigate to the archive of the process concerned.
The menu
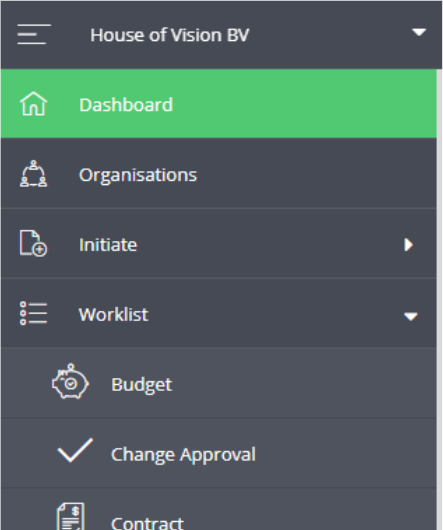
The menu allows you to navigate to each item in the application. Whether this will be returning to the Home screen, initiating a transaction or viewing your worklist or the archive from a certain process. There are main menu items and sub menu items which can be collapsed or expanded by clicking on them.
The three dashes at the top left of the menu will collapse or expand the menu.
To the right of those you can select the administration that is relevant to you at that moment. It is also possible to open multiple or all administrations at the same time. Based on the selected administrations your worklists and archive results will automatically be filtered.
OCI – Web shop for purchases
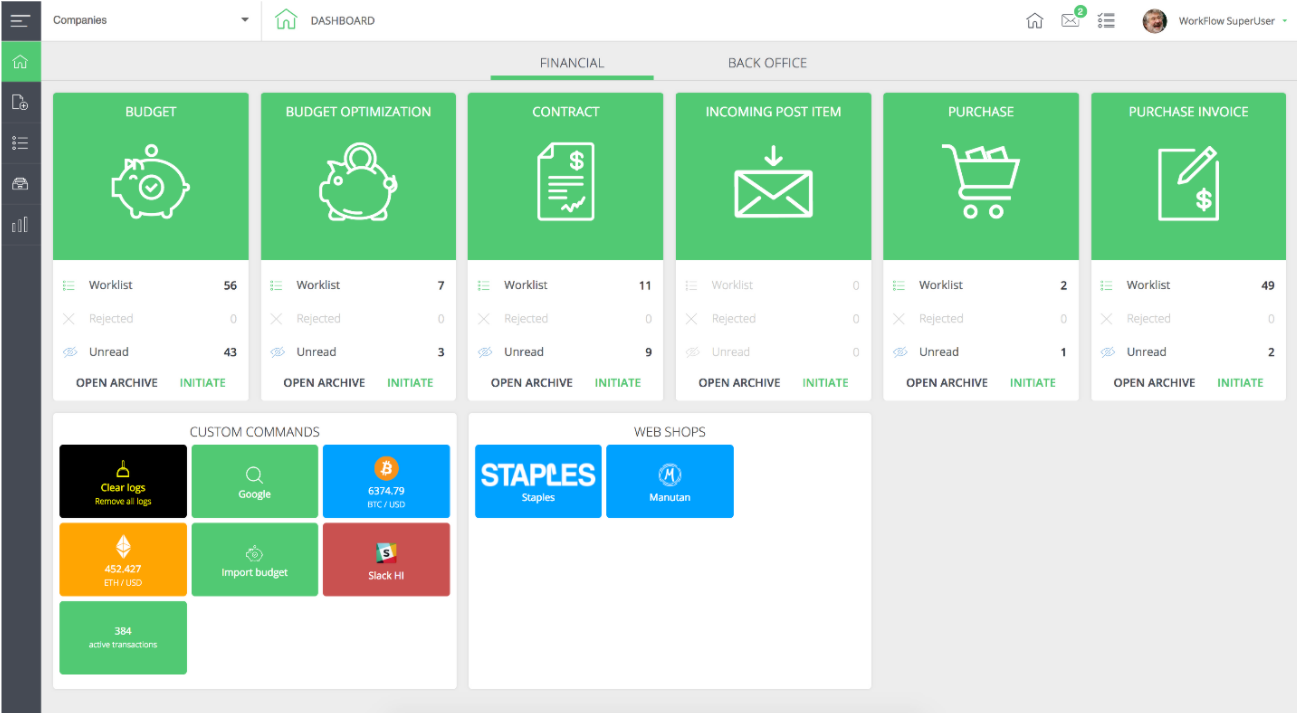
This is only available when activated in your environment. From the Home-screen it is possible to start a purchase immediately by means of the integrated Web shop buttons. There are also various buttons that each represent a specific web shop. This makes it easy and clear to submit a purchase request because one press of a button takes you straight to the correct web shop to purchase from. The print screen below shows you at the bottom left corner how nice this will look on the home screen. The web shop buttons cannot only be marked with text but also with a logo, as the Staples web shop button in the example below shows:
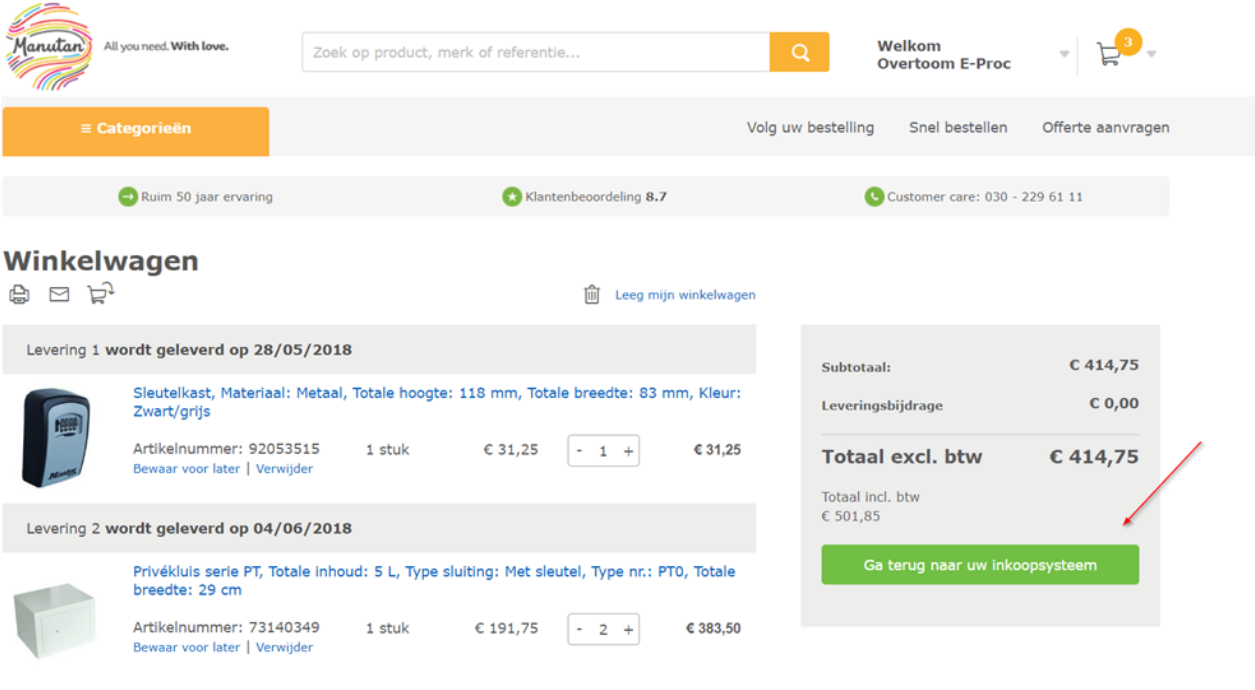
Pressing a web shop button brings you to the web shop page itself, allowing you to add items to your shopping basket. However, instead of paying via the check out, you indicate that you want to order by means of your purchase system:
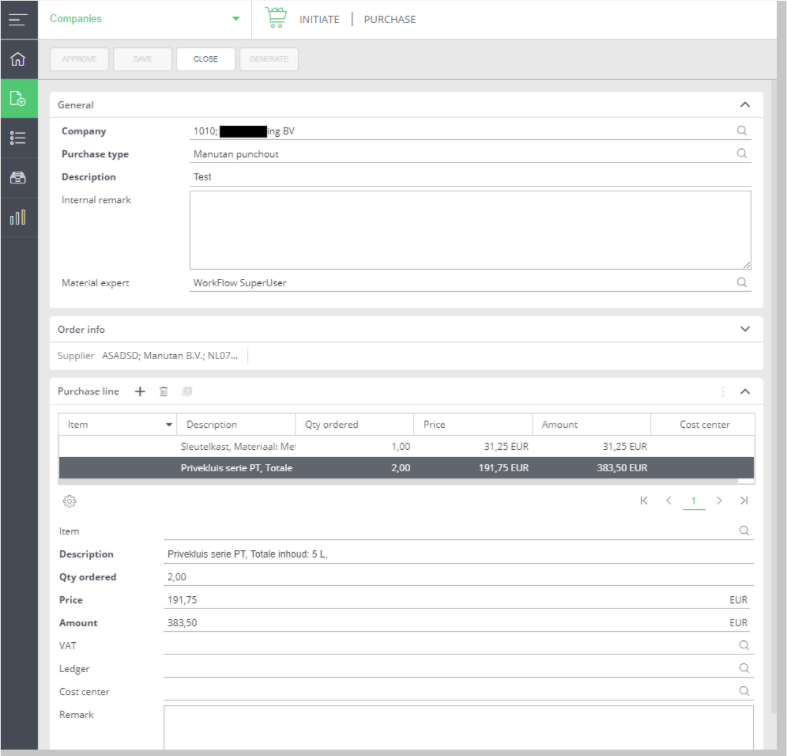
You can then close the web shop and return to the application (where the chosen items have been entered into the transaction), to supplement any data and submit the transaction:
To use web shop links in the purchase process, we kindly ask you to contact the Support department to set this up.
Custom Dashboard
The Custom Dashboard is a section at the bottom of the home screen in which various task buttons can be placed. The commands that you can execute by means of these buttons are, for example, generating a report, importing a budget or executing a certain script. These are actions that you can perform immediately without having to navigate to a specific screen first.

The buttons are not limited to actions within the application, but also allow you to communicate with external websites or applications. This way you can initiate a Google search with a press of the button or even send a Skype/Slack message directly to any person from your list, all from one and the same application: Onventis.
It is also possible to use the buttons to simply show certain information, such as the sum of the number of active transactions in the entire environment or the price of a certain share or the value of a specific crypto-currency, to name a few. The possibilities are ample, so contact the Support department to request setting up one or more custom buttons.