
Manual Contract Signing
This article provides an overview of how the Manual Signing workflow functions in the CLM system, including document handling, contract phase transitions, user permissions, and key actions required to complete manual signing.
🗺️ Overview
Manual Signing is a contract workflow phase that allows CLM Power Users to finalize contracts using offline collected signatures. This workflow ensures that all required documents are marked as signed, validated, and finalized before a contract can move into the Signed status.
The process includes strict controls around document versioning, signed document handling, mandatory fields, contract edit permissions, and clear user guidance throughout each phase.
🧑🦱 Who Can Use This
The Manual Signing flow is available to:
CLM Power User
Additional viewing permissions:
Users with View/Edit rights assigned directly via Permissions tab.
💡 Note: Only CLM Power User can trigger actions that change the signing state.
✍️ Manual signing flow
1. Document Signing Flags (Signed / Not Signed)
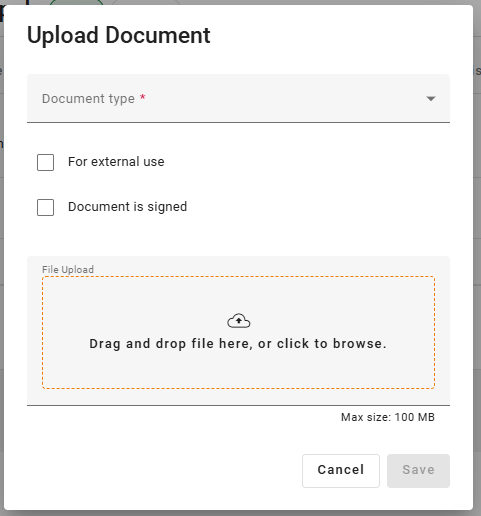
When uploading documents or document versions to contracts only (not templates), users can set:
“Document is Signed” flag: yes/no (default: no)
Signed/not-signed status can be applied only during document or version upload, not during editing.
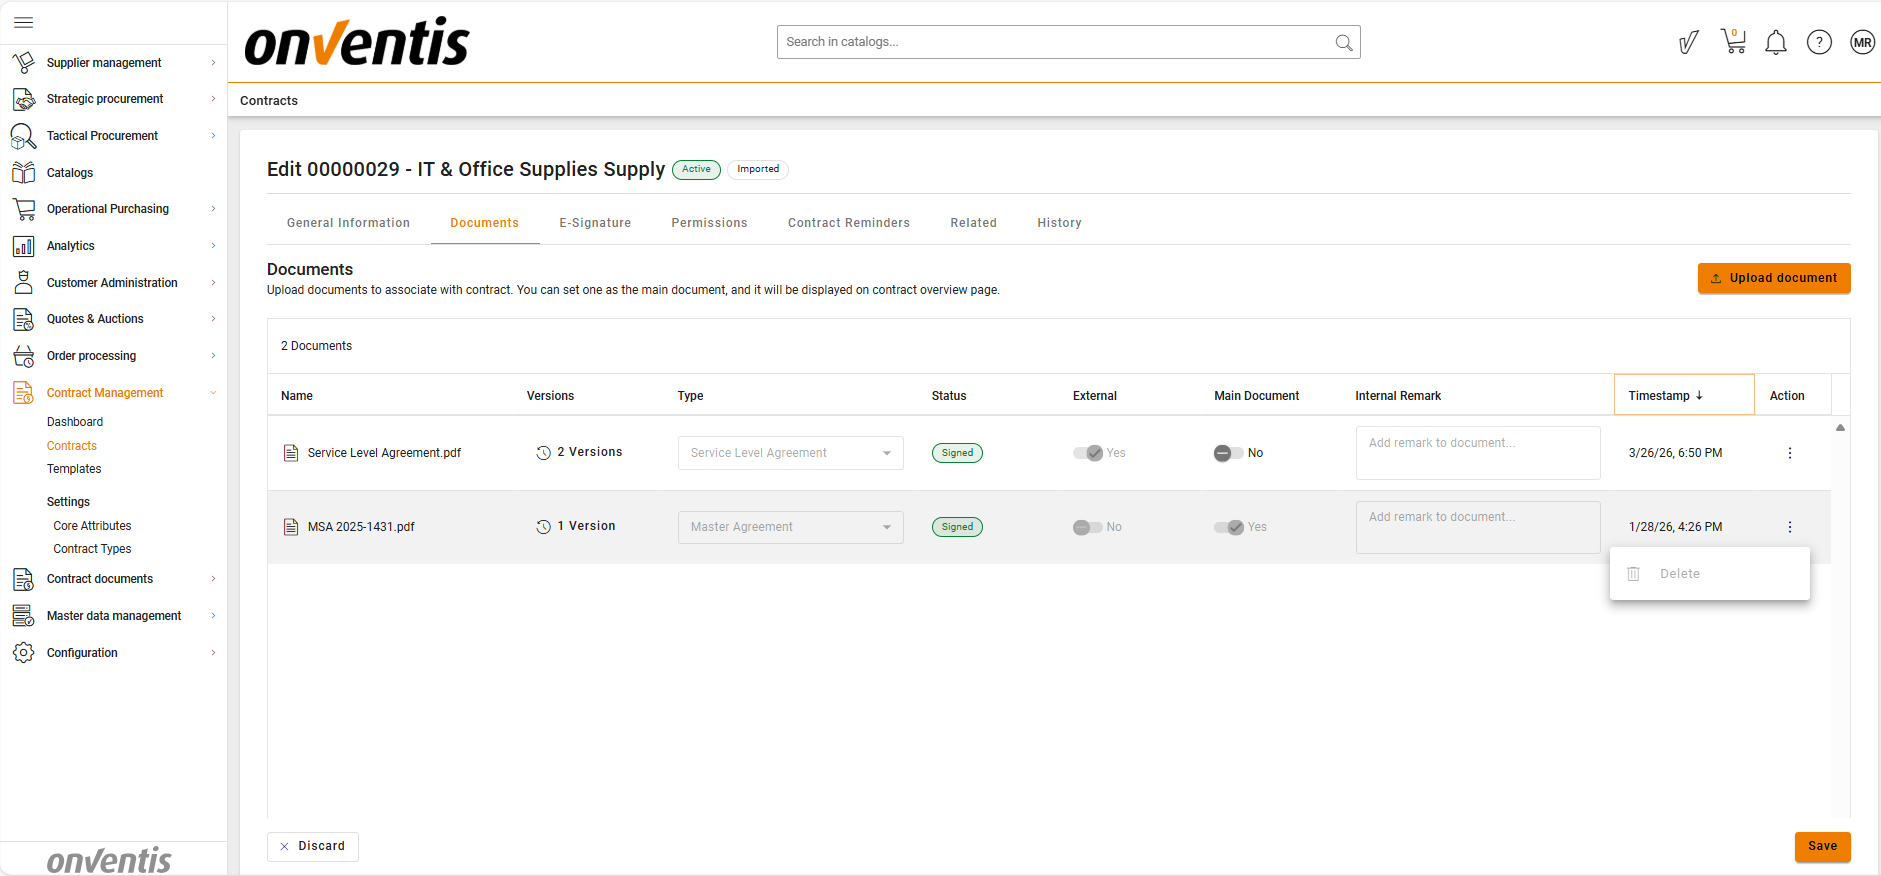
When the latest uploaded version is marked as Signed:
The document automatically becomes Signed
Document status always reflects the latest version
Document version behavior:
Users cannot change the signed/not-signed flag after upload.
To “undo” a signed document, users must upload a new version marked as Not Signed.
Older versions remain unchanged (e.g., a previously signed version stays signed for audit).
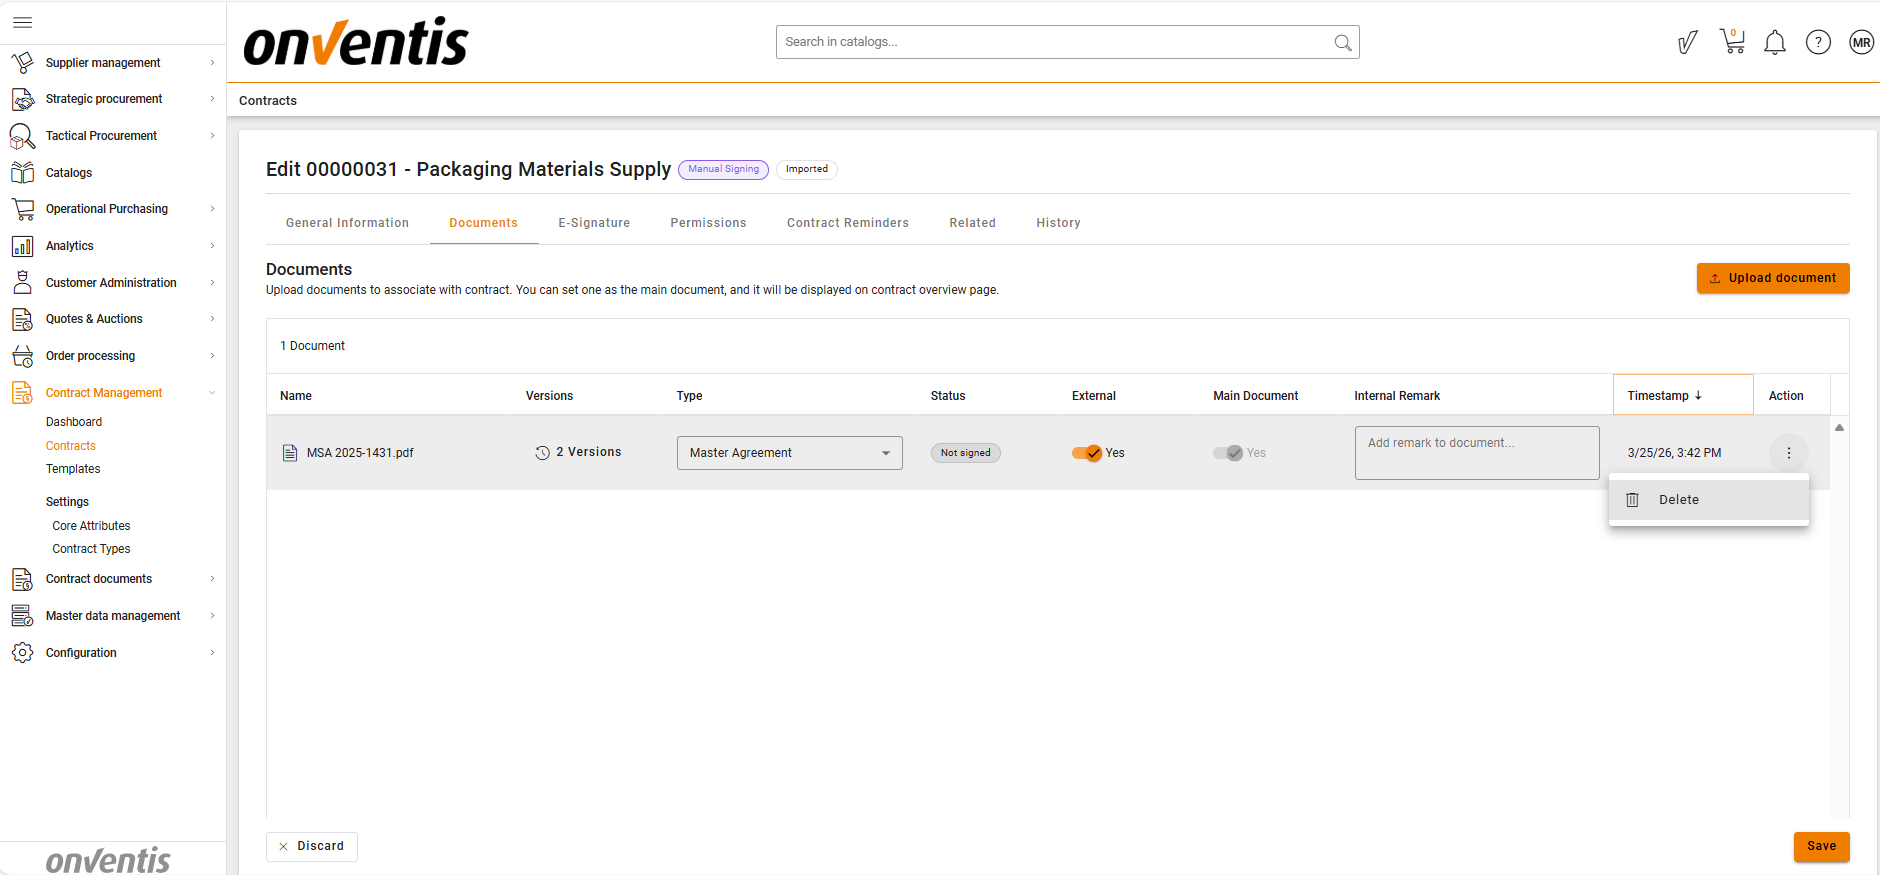
Read-only behavior for signed documents:
Once the latest version is Signed → the document becomes read-only.
Only three actions remain available:
Set/Unset as Main
Upload New Version
Document metadata is locked (even in Draft).
2. Transition to Ready for Signing
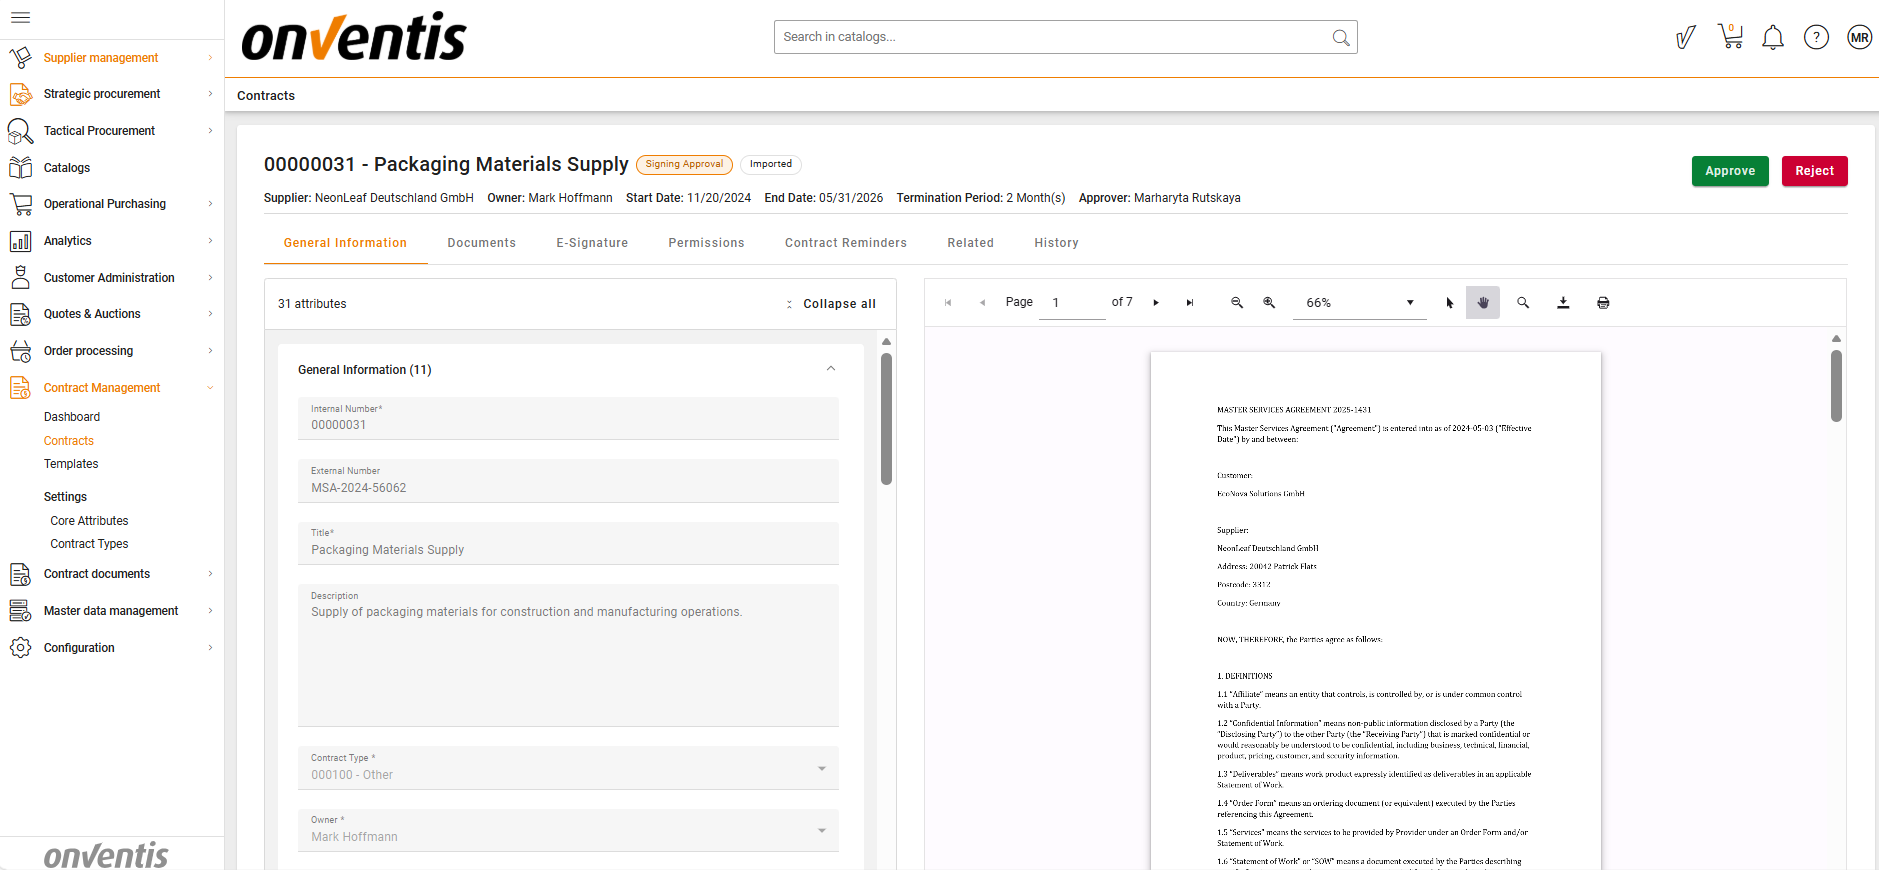
The contract is automatically moved to Ready for Signing when:
It is approved in the Signing Approval phase.
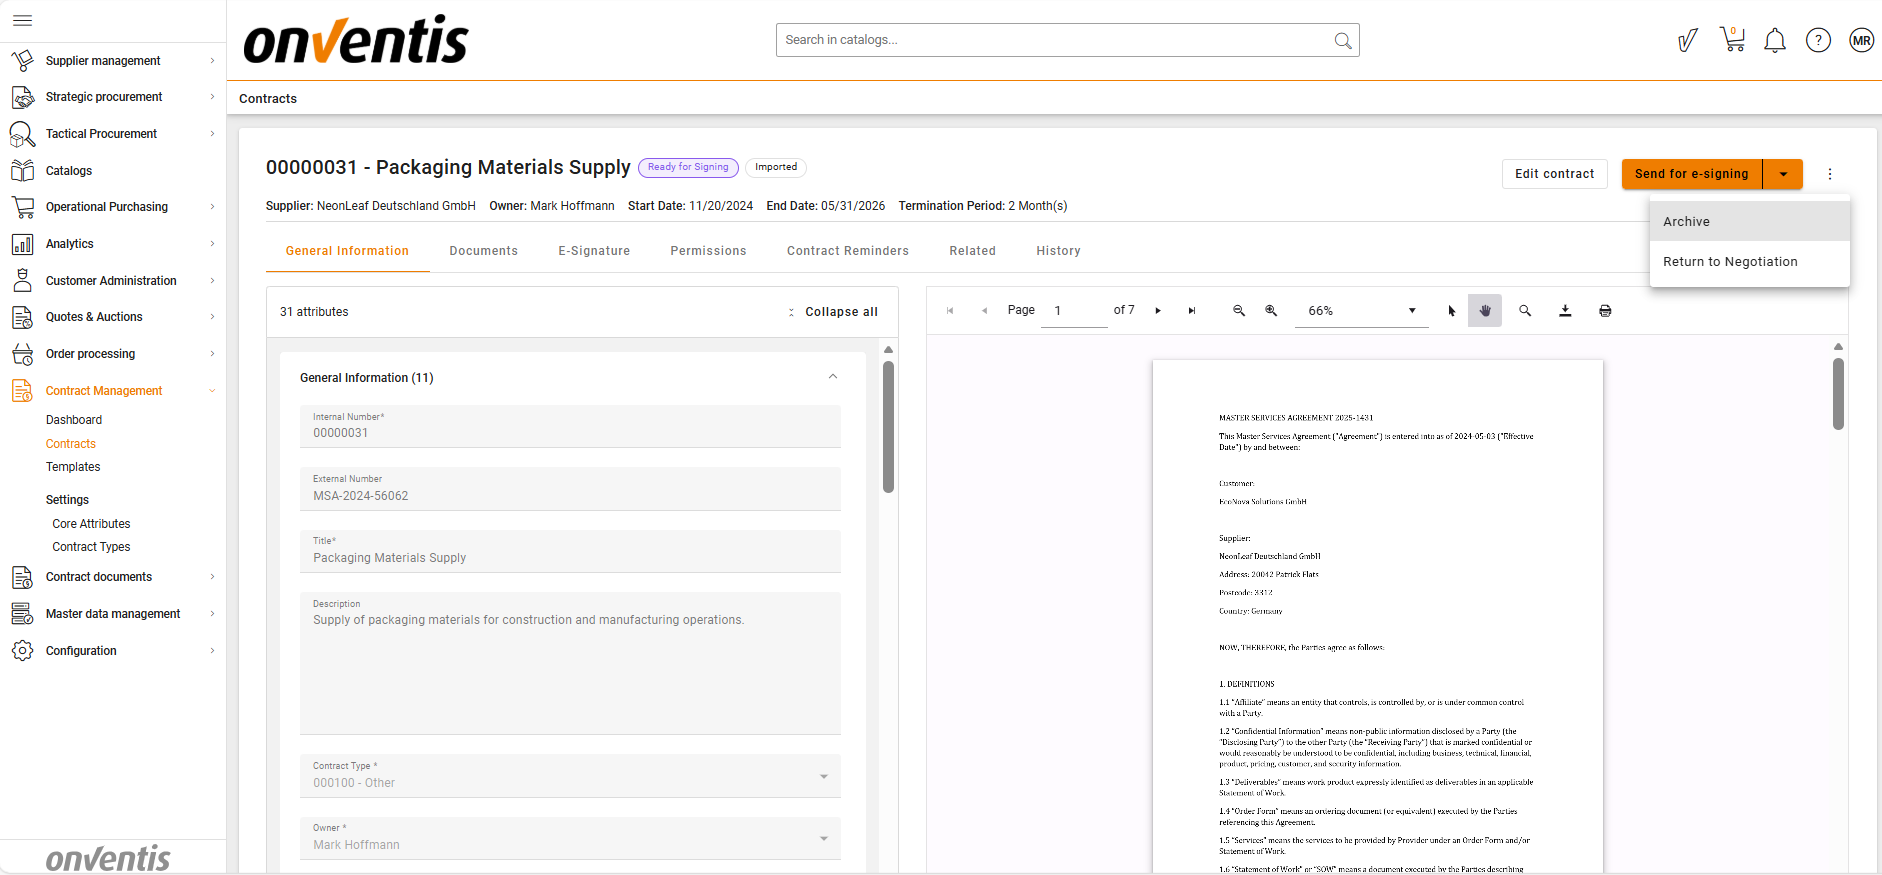
3. Ready for Signing Phase
In this phase:
Editing of only the E-signing tab is allowed.
All the rest tabs are switched to View mode.
Available actions:
Send for manual signing
Send for e-signing
Return to authoring or negotiation
Archive
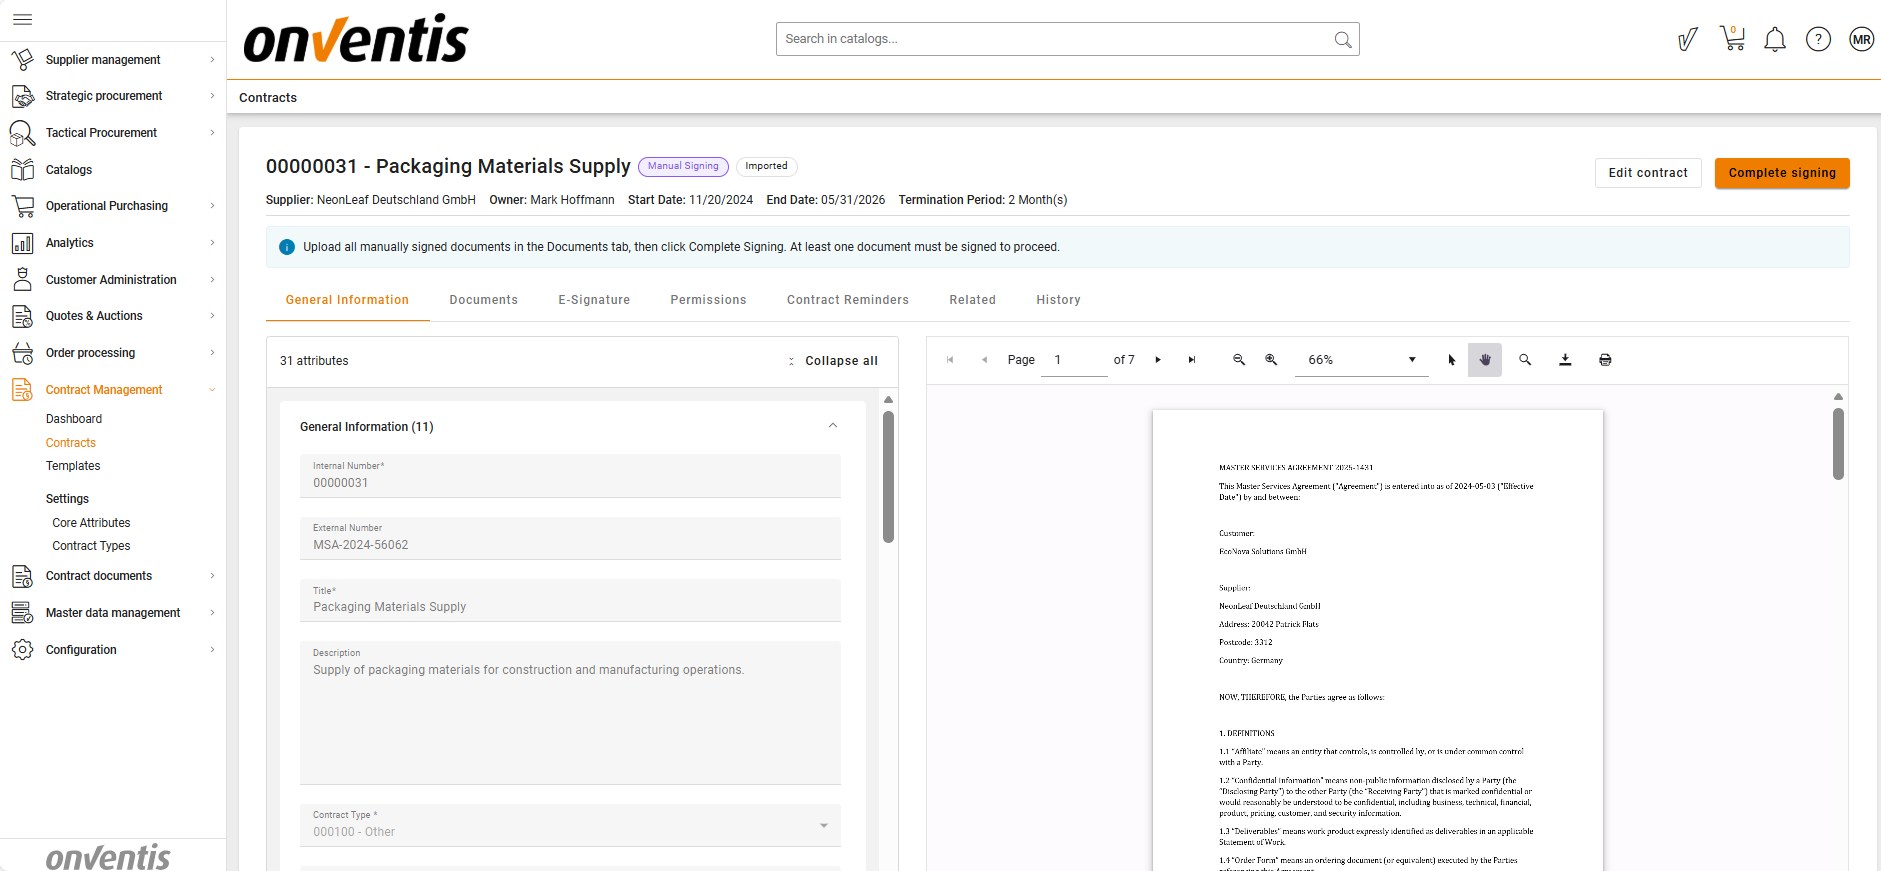
4. Starting Manual Signing
When Start Manual Signing is clicked:
Contract status becomes Manual Signing.
Contract remains in View mode.
All CTAs disappear except:
Complete Signing - visible only to CLM Power Users
Edit - visible to Editors, CLM Power Users
5. Editing During Manual Signing
When user clicks Edit:
Contract enters Edit mode.
Only the Documents tab becomes editable.
All other tabs remain view-only with no edit actions.
User is redirected automatically to the Documents tab.
Edit lock:
Manual Signing phase uses the same concurrency lock rules as Authoring (only 1 user can edit at a time).
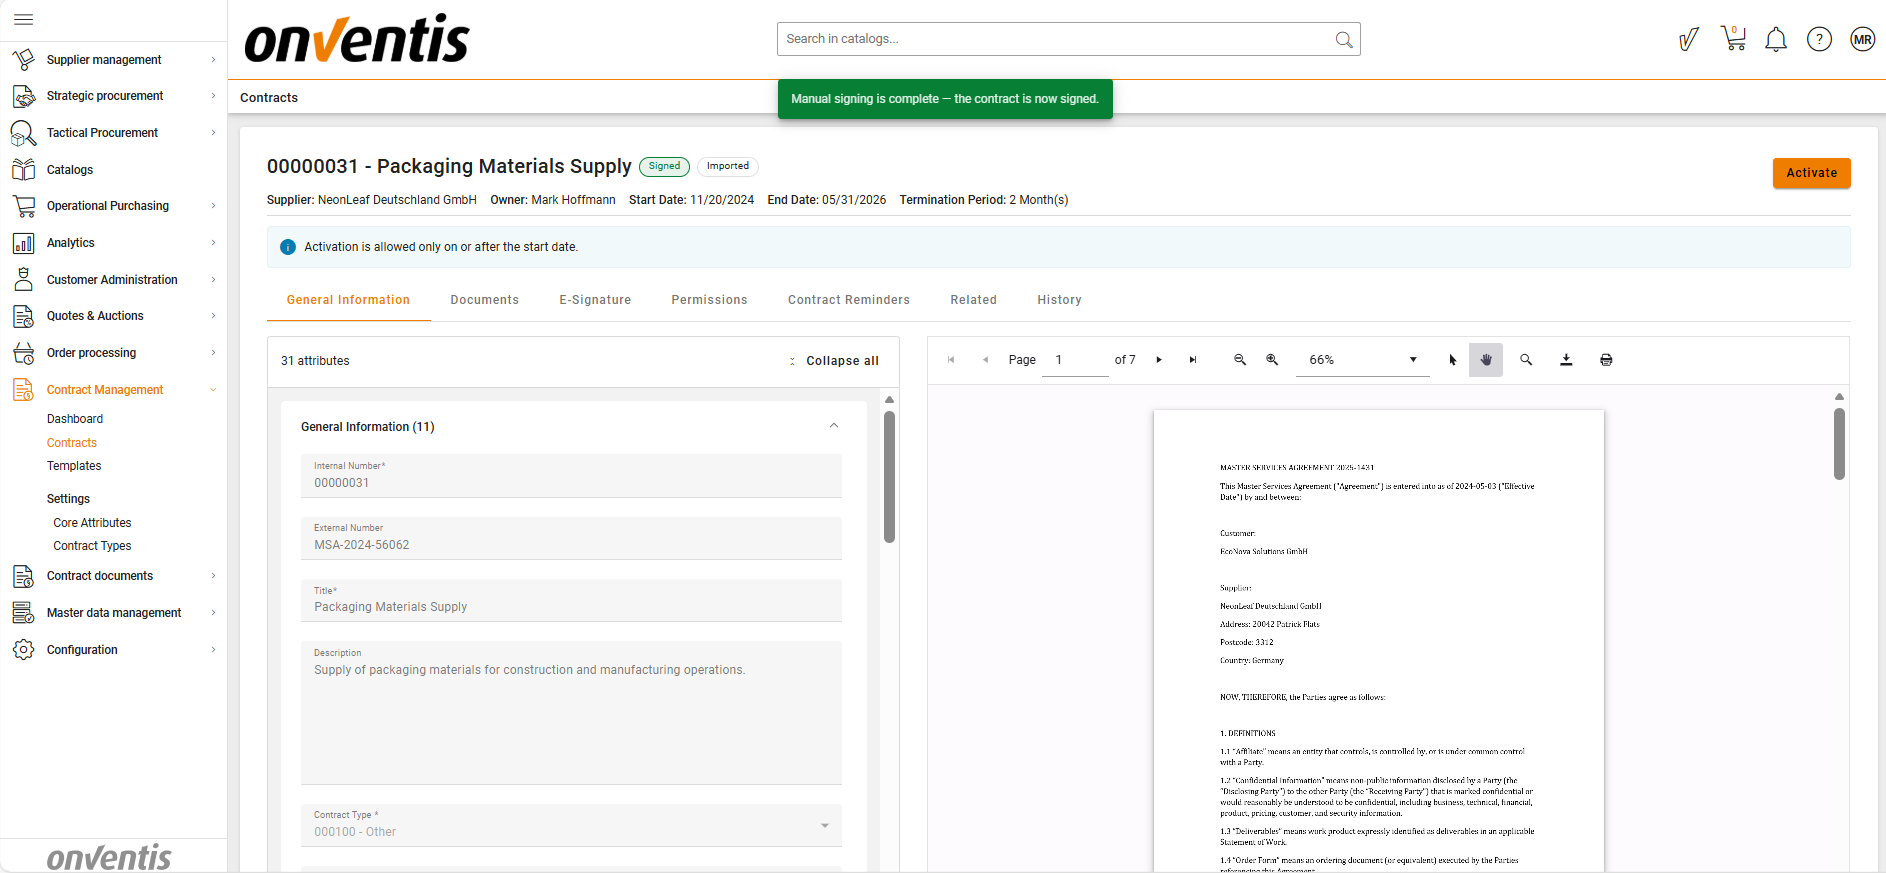
6. Finalizing Manual Signing
When the user clicks Complete Signing:
Validations are triggered:
There must be at least 1 document with the Signed status
If validation succeeds, the contract transitions to Signed.
💡 Note: No documents are auto-set to Signed when the user clicks Complete signing — signing state is produced by explicit upload of a signed file.
Best Practices
💡 Tips for Effective Use:
Upload clean document versions and mark them “Signed” only once they are final.
Use Not-Signed versions to revise a signed document without overwriting audit-critical versions.
Complete all metadata (Supplier, Value, Currency) before initiating the signing flow.
Avoid unnecessary edits in Manual Signing; only documents are editable, plan revisions beforehand.